1.Go to start
2.All programs
3.Adobe Photoshop Elements 3.0
4.File-open
5.Then open image and begin.
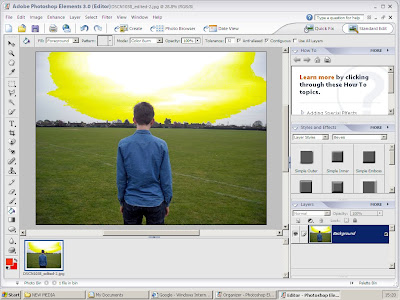
I then went to “The paint bucket” tool on the left hand side, the toolbar. After doing this I then selected the colour appropriate for the changing sky on my cover.
.I decided to use reds, oranges and yellows. Obviously these are all associated with the colour of the sun however, I believed the colours had many significant connotations that illustrated the meanings of the video and the Digi-pack in general.
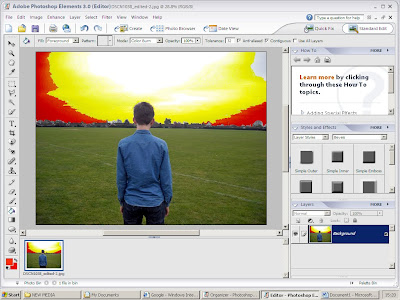
I then continiued with the bucket too create this desire effect.
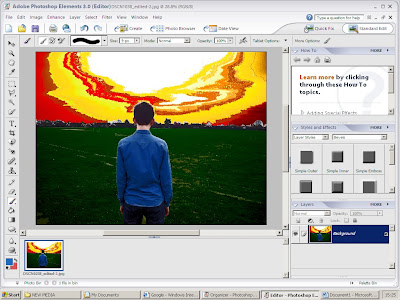
I then inserted my text. I used a white colour to make the text stand out to the audience. The effect of this enables the interest of the taregt audience.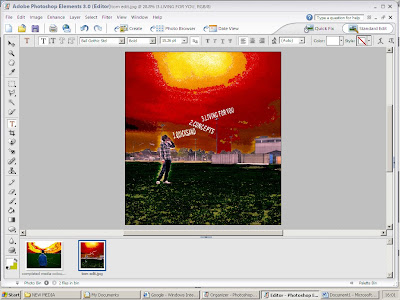

I then continued to insert the titles of each single onto the backcover. I decided on the text to look like the lyrics were coming from the subjects' mouth as this expresses the emotion in the video; how the actors feel trapped, wanting to shout out their feelings.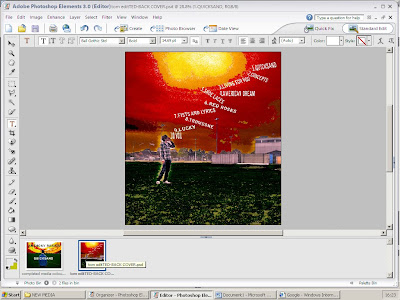

I first went to file-insert-pictures and inserted my backcover in first. I wanted to orientate the rest of the colours around the colours on the back. In order to do this I felt that inserting the back cover was important first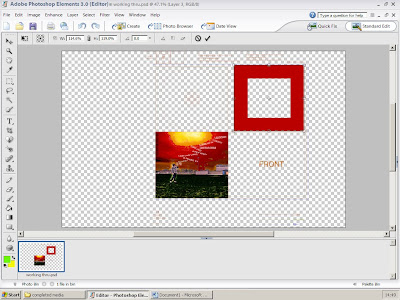 I then continues colouring in the first inside of the digi-pack using the bucket tool on the left hand pannel. I then inserted the front cover
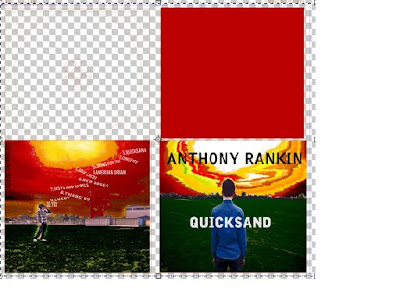 I then used the bucket tool to colour in the disk insert. I chose red and orange colours to enable a coherent colour effect.
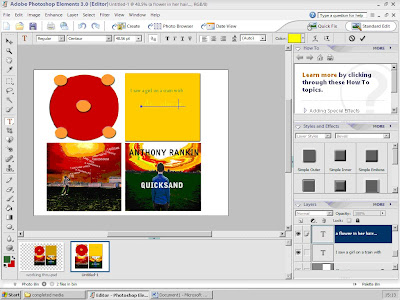
 I then continues colouring in the first inside of the digi-pack using the bucket tool on the left hand pannel. I then inserted the front cover
 I then used the bucket tool to colour in the disk insert. I chose red and orange colours to enable a coherent colour effect.
No comments:
Post a Comment